Sometimes securing your WordPress site can be as simple as installing a plugin. But after that plugin is installed, you’re left scratching your head wondering how to configure the settings in the darn thing. Now some of these security plugins can be a total headache if you check the wrong box or you click on the wrong button. Poof! Your site can go up in smoke.
So this video is going to show you how to configure the powerful and free iThemes security plugin. Now before you install and activate the plugin, since it is a powerful plugin, you need to first do a full backup of our site – both files and database. Okay, so we’ve already got that out of the way. Now we want to log into our dashboard area. Come on down here to Plugins, Add New. And we’re going to install and activate the iThemes Security plugin. So up here in the Search Plugins box, type in iThemes security, then hit Enter. And it should be one of the first results to pop up right here. Click on Install Now and Activate Plugin. And as soon as you do that, you’ll get these two items that pop up here at the top. And over here on the left sidebar, you’ll get a new set of links.
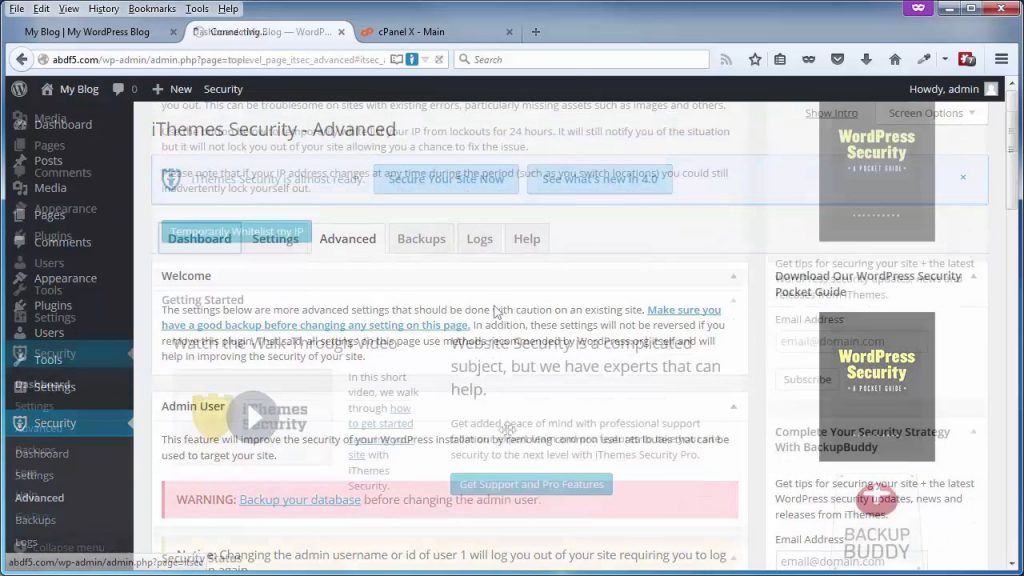
Under Security, you get Dashboard Settings, Advanced Backups, Logs, and some additional help documentation. And if you like the free version, you might want to go pro, and you can do so very easily by just clicking on that link. Now the iThemes Security plugin has a whole lot of things you can do but only a few things that you have to do. And we’re going to stick primarily to the few things that you have to do.
One item that we’re not going to really get too deep into is this first one up here, the iThemes Brute Force Network Protection. I am going to go ahead and click on the Get Free API Key. That’s going to take us to the dashboard. And this is going to pop up. Now before you start going through these buttons here, let’s go ahead and get out of this, let’s go ahead and check out that iThemes Brute Force Protection real quick. We’re in the Settings tab. And we just scroll down a bit. Sorry if I’m making you dizzy. And use your brute force, right here we are. Of course, read all the stuff over here, but all you have to do is enter your email address in here and then click on Save All Changes. And the free API key will automatically be populated inside of here. So that’s really all you have to do to get and activate the iThemes Brute Force Protection.
Okay, now that we have that out of the way, let’s come on back up to the top, and click on Show Intro in the top-right corner. And that’s going to pop up these four questions again. The very first item it’s going to show you here is to make a backup. Now, this is just for the database files, not the image files or video files, anything else that might be in, like for example your media library. So you definitely want to do this. But if anything goes wrong, you’ve got that full backup that you did prior to even activating this plugin. Now before we start getting into these four items here – because really, these are the items that have to be done. Everything else is the could-be-done thing. I want to first come on back here to dashboard and show you what the iThemes Security plugin has found high-priority, medium-priority, and low-priority fixes. Now if it were a perfect world, you would not have any of these items showing up here, high, medium, or low priorities.
They would all be fixed. But depending on the scripts that you have running on your site, the plugins and whatnot, some of these items under medium and low priority are just going to have to be left alone because if we try to fix them, they may break your site. And if you do, not to worry because you’ve got that full backup that you can reinstall and get your site right back to where it was prior to clicking on that Fix It button. But you should remove all of the items or most of the items in the high-priority section.
Now I purposely installed this WordPress site using admin as a username, which is a bit no-no. You never want to do that, and that’s the very first item that iThemes Security has pulled up. Simply click on the Fix It button, and it gives you a nice little warning message here of what to do before you go any further. Check this box here, enter the new username, check this box as well to move you out of the #1 user slot on the database, which is also a security issue, and move you to the next available. Of course, this being a new site, the next available would be the #2 user slot. Be sure to have your password handy because this will log you out as soon as you click on Save Admin User.
But let’s go ahead and come on back to the dashboard. And I just wanted to show you right off the bat these five items that iThemes Security found by default. Let’s come on back to that initial pop-up. Click on Show Intro. And we’ll do the backup here. Again, that’s just for the database files. We’ll click on this button here to allow file updates. That’s going to tweak the wp-config and the .htaccess file that will allow iThemes security to write to those files. And this is the big guy right here, a one-click secure. Clicking on this button will take care of the majority of the security issues on your site. Don’t blink, there, that’s how fast it was. And if you want to allow iThemes security plugin to collect anonymous data to help them make their plugin better, then go and click on this button as well. I’m going to go ahead and just miss this out because basically, we’re done. We’ve done the few items that need to be done. And I’m going to leave the bunch items that can be done to you.
But I do want to scroll down a bit and show you that the majority of those high-priority items are already taken care of. The admin user, we know we can take care of that by clicking on Fix It. Have your password handy because you will be logged out. And it shows here that the site is not performing any scheduled backups. You can click on Fix It, and it will do that for you. But these are only the database files that are being backed up, which is better than nothing. But you should still have some type of a backup process in play that will back up your files as well as your database. There’s a bunch of them, but a good free plugin for that is called BackWPup.
Now if you come on back up here to the top and go to settings, this is one tab that you really want to get familiar with. And it could take you some time, but go through these. Most of these are self-explanatory. One that I did want to point out if we scroll down here about midway, is doing a quick malware check. Right, here we go, malware scanning. Just click on this button right here, and it will scan your site for malware right off the bat. And if all goes well, then you’ll get a couple of green marks here in just a second. There we are. And I just want to point that out as a cool feature that iThemes Security plugin has. So go on down the line here. Check out the items that you want.
And my suggestion is that whenever you take care of a major fix, go ahead and test your site. Make sure that all the links are working, everything is still working. Do a backup at that point so if the next item that you decide to fix breaks your site, then you would’ve already had all those other previous fixes that you know did not break your site still in play with that most recent backup.
And that’s it. That’s going to cover the things that have to be done in securing your site with the iThemes Security plugin. The rest of the things that can be done, I’m going to leave that up to you. And that’s going to bring us to the end of this video. Thanks for watching and you have a great day.